| Note: This tutorial assumes that you know how to use rcdiscover and how to access the Web GUI of the rc_visard. If not, follow the rc_visard's Network Configuration tutorial. |
| |
Setting up the ItemPick and BoxPick modules
Description: This tutorial describes how to set up a scene to use the ItemPick and BoxPick modules with ROS.Keywords: rc_visard, itempick, boxpick
Tutorial Level: BEGINNER
Next Tutorial: rc_visard/Tutorials/Computing grasps
Contents
Goal
This tutorial shows how to setup a scene to compute grasps with the ItemPick and BoxPick modules in a bin picking application using ROS.
Before we start
In order to go through this tutorial, the following prerequisites should be met:
Prerequisites
The rc_visard is running the latest firmware and the rc_visard’s license includes the module to be used (ItemPick or BoxPick). This can be verified on the Web GUI’s System page. The GUI can be accessed using rcdiscover.
One or more objects of the same type are in the field of view of the camera. They should meet the following requisites:
- The object surface, shape and weight are suitable for picking by suction (i.e. the vacuum generated by the gripper system together with the size of the suction cup generate a suction force large enough to lift and move the part).
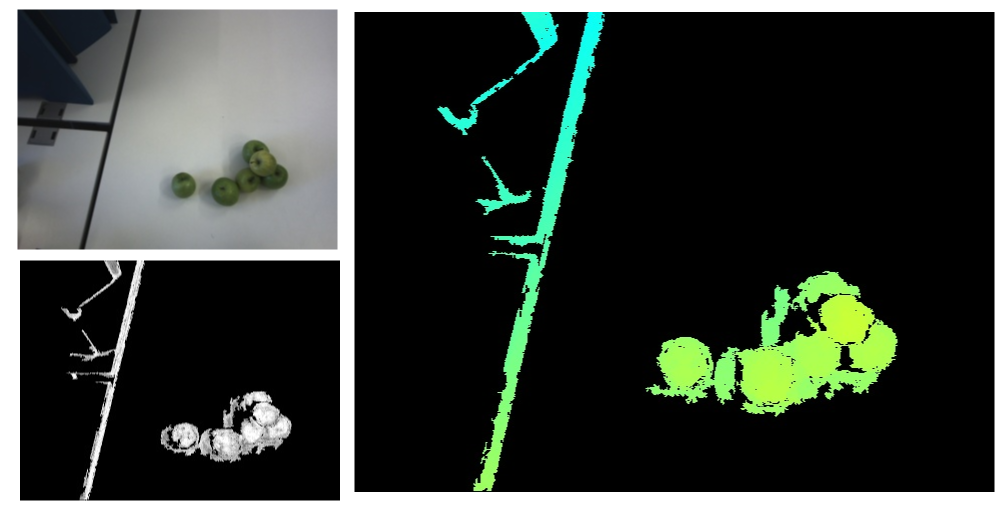
The object surface appears in the depth image. This can be verified by placing the part in front of the rc_visard and checking the Web GUI’s Depth Image page. If the part presents holes or low confidence regions (i.e. average gray pixels in the Confidence image), one can follow the Tuning of Image Parameters tutorial.
- The object covers at least 300 pixels in the depth image, which approximately corresponds to an object of size 0.04 m x 0.04 m at a distance of 1.2 m from the sensor.
If a load carrier is used, it should be avoided that items stick out of it. ItemPick and BoxPick have a threshold of approximately 10 cm above the load carrier rim to filter the load carrier content. Objects which stick out more than that are not considered for grasping.
Installation
Install the rc_pick_client package:
$ sudo apt install ros-$ROS_DISTRO-rc-pick-client
Start the node
To run the rc_itempick node:
$ rosrun rc_pick_client rc_itempick_client_node _host:=<sensor_IP>
To run the rc_boxpick node:
$ rosrun rc_pick_client rc_boxpick_client_node _host:=<sensor_IP>
Since rc-pick-client's version 2.7, the device serial number or ID can be given instead of it's IP address.
To run the rc_itempick node:
$ rosrun rc_pick_client rc_itempick_client_node _device:=<serial number>
To run the rc_boxpick node:
$ rosrun rc_pick_client rc_boxpick_client_node _device:=<serial number>
The IP of your sensor can be determined using rcdiscover.
Setting up the scene
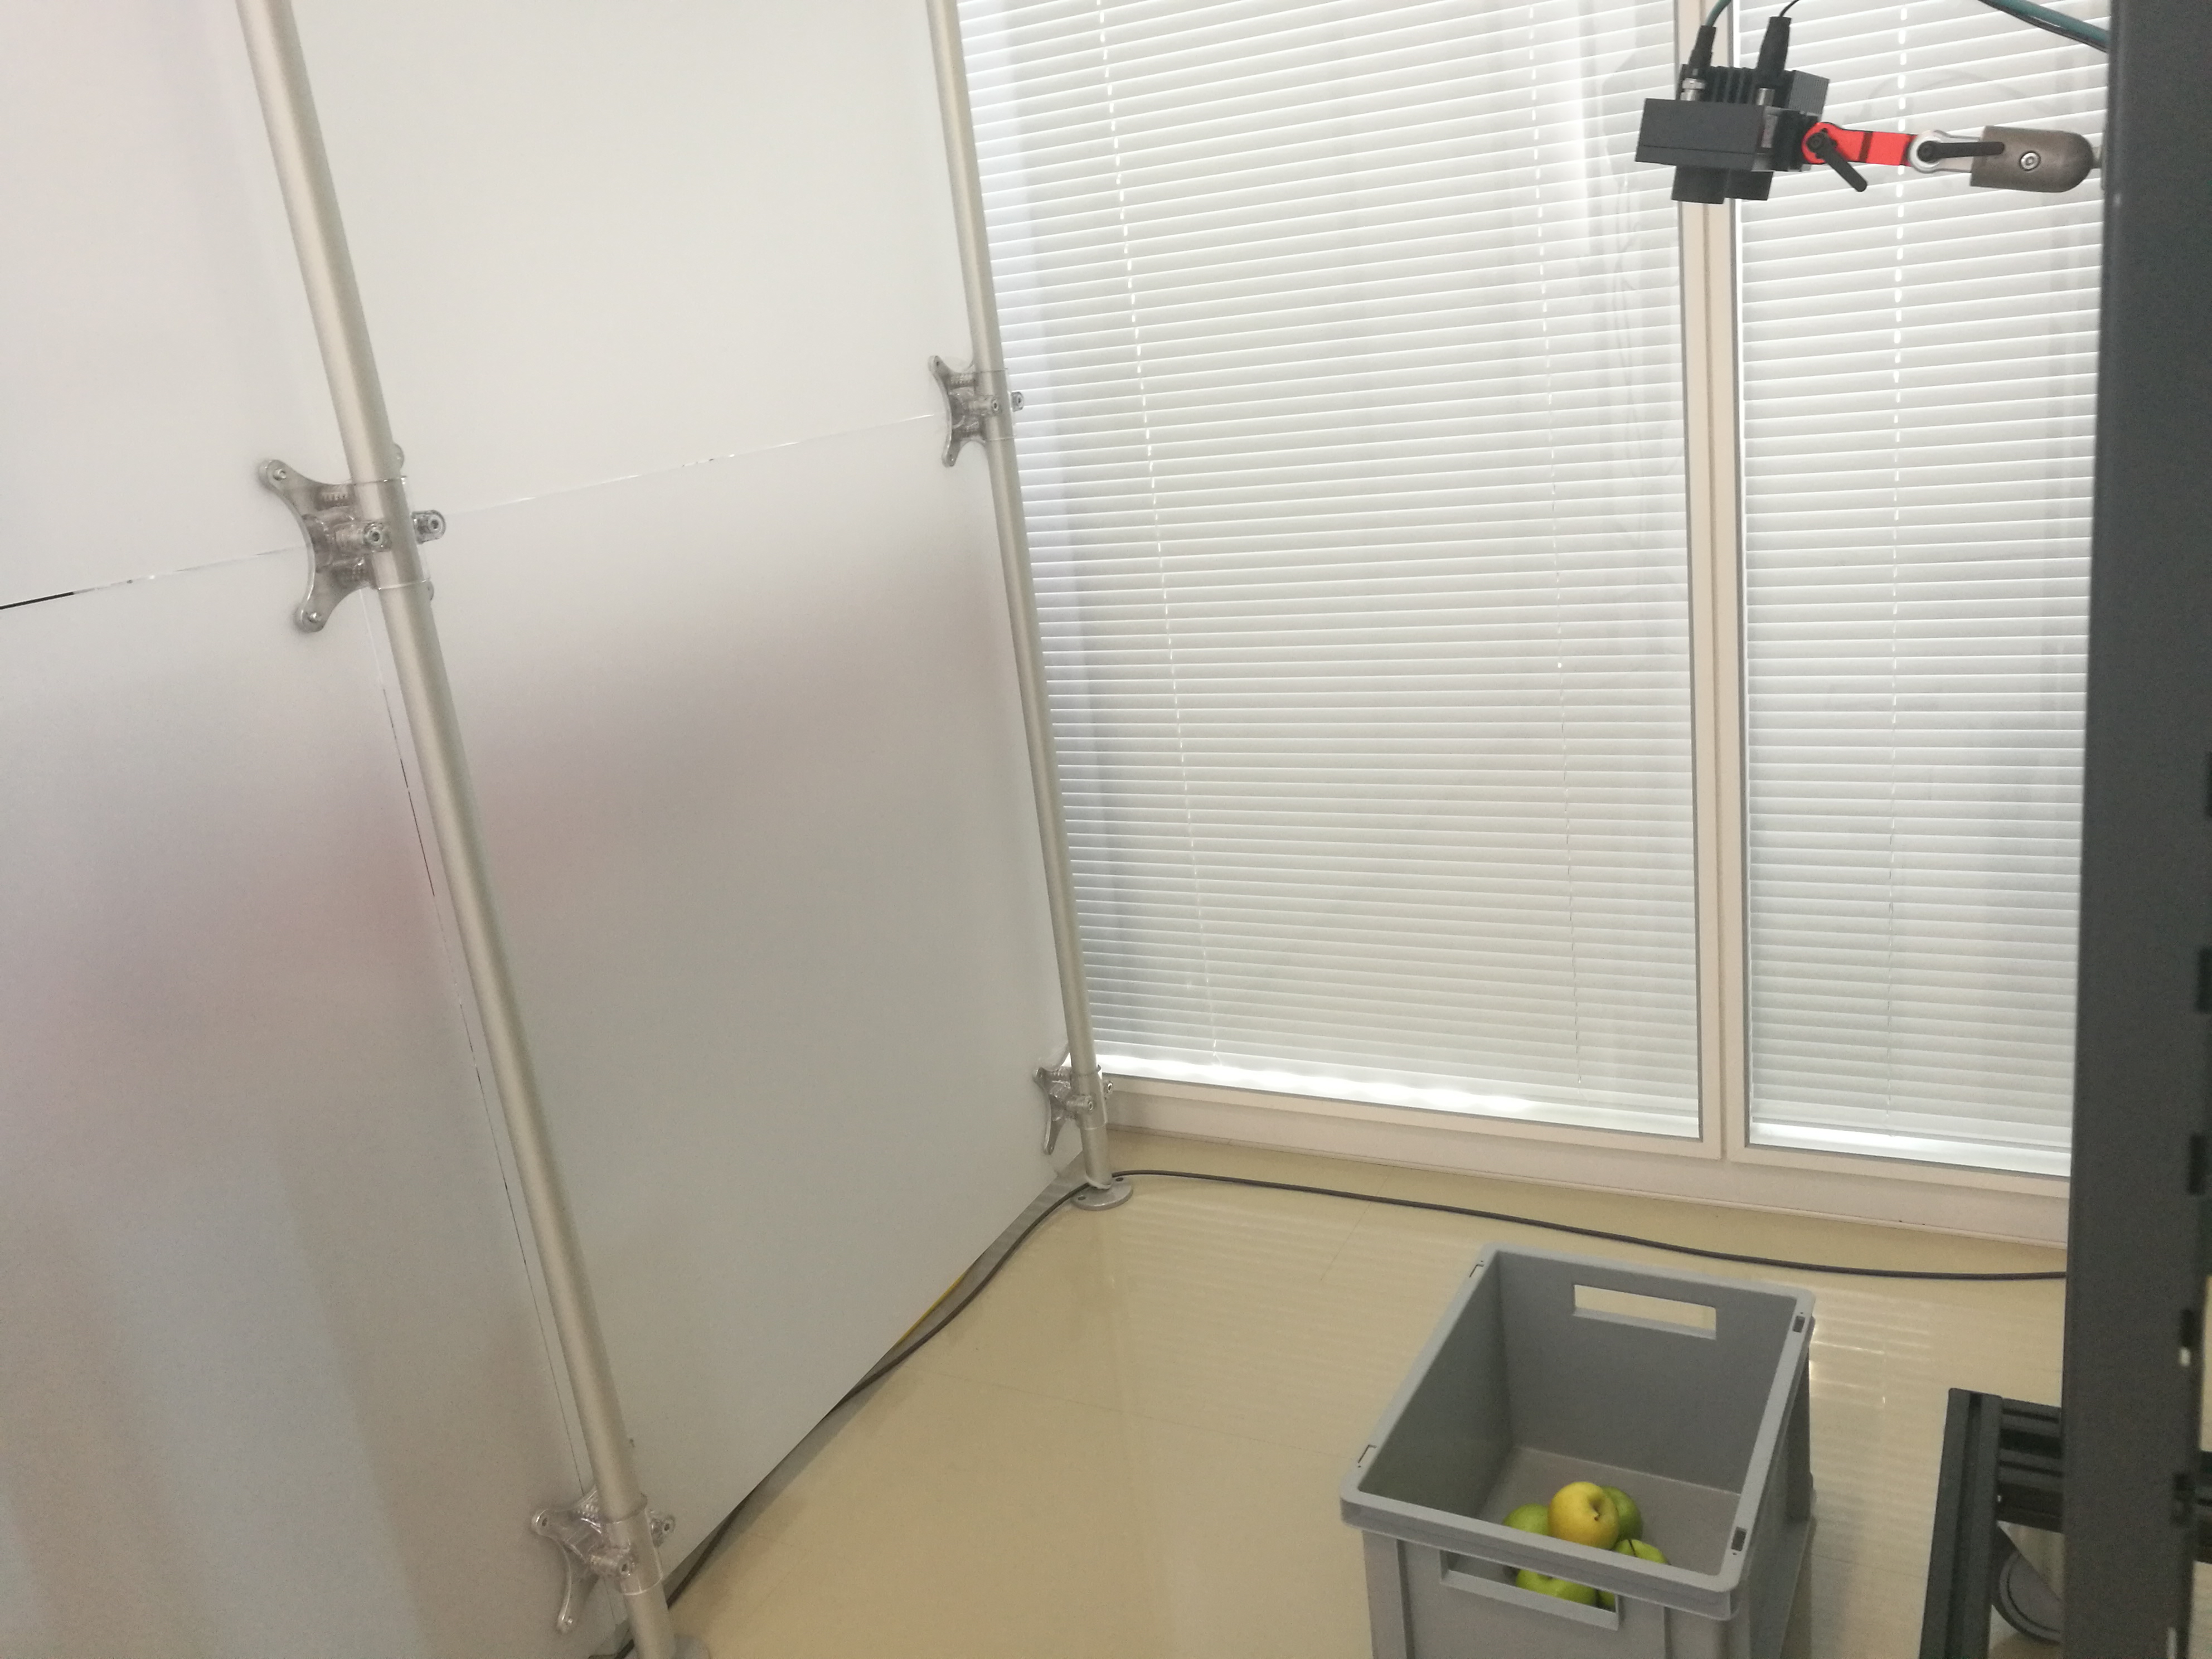
We recommend to mount the rc_visard on a tripod or a static support as explained in the rc_visard’s mechanical interface description.
Alternatively, the rc_visard can also be mounted on the end-effector of a robot, but the integration with the robot is not included in this tutorial (therefore, no hand-eye calibration is required to complete the tutorial).
The load carrier should be placed in the field of view of the sensor. Optimally, the sensor should have a clear view onto all objects in the bin without any occlusion by its walls – as shown in the sample setup below.

The placement should also ensure that the rim of of the load carrier is visible in the depth image. Occlusions of the rim are acceptable, as long as all edges are at least partially visible. If this is not the case, one can follow the recommendations for tuning camera and image parameters.
The mounting should be stable such that the sensor remains static while the software acquires data.
The objects to be grasped should be placed in the field of view of the rc_visard. The optimal distance to the objects depends on the rc_visard model, as shown in the table below.
Sensor's recommended working range
|
Minimum distance |
Maximum distance |
rc_visard 160 |
0.5 m |
1.3 m |
rc_visard 65 |
0.2 m |
1.0 m |
Since the depth accuracy declines quadratically with an object’s distance from the sensor, the rc_visard should be placed as close to the objects as possible.
Configuring image parameters
Once the scene has been set up, we recommend to check the Web GUI’s Depth Image page to verify that the images are well-exposed and the depth image is dense with no holes on the parts. The tutorial Tuning of Image Parameters covers all required steps to get the best quality for stereo and depth images.
The detection modules provide their best results when the depth image quality is set to High. The Static mode might be beneficial in static scenes, but it increases the data acquisition time.

What's next?
The next step is to configure the load carrier model and then compute grasps inside this load carrier, as described in the Computing grasps tutorial.
Troubleshooting and FAQ
For troubleshooting purposes look here


